Tuesday 18 December 2012

Personal Project - Progress Review


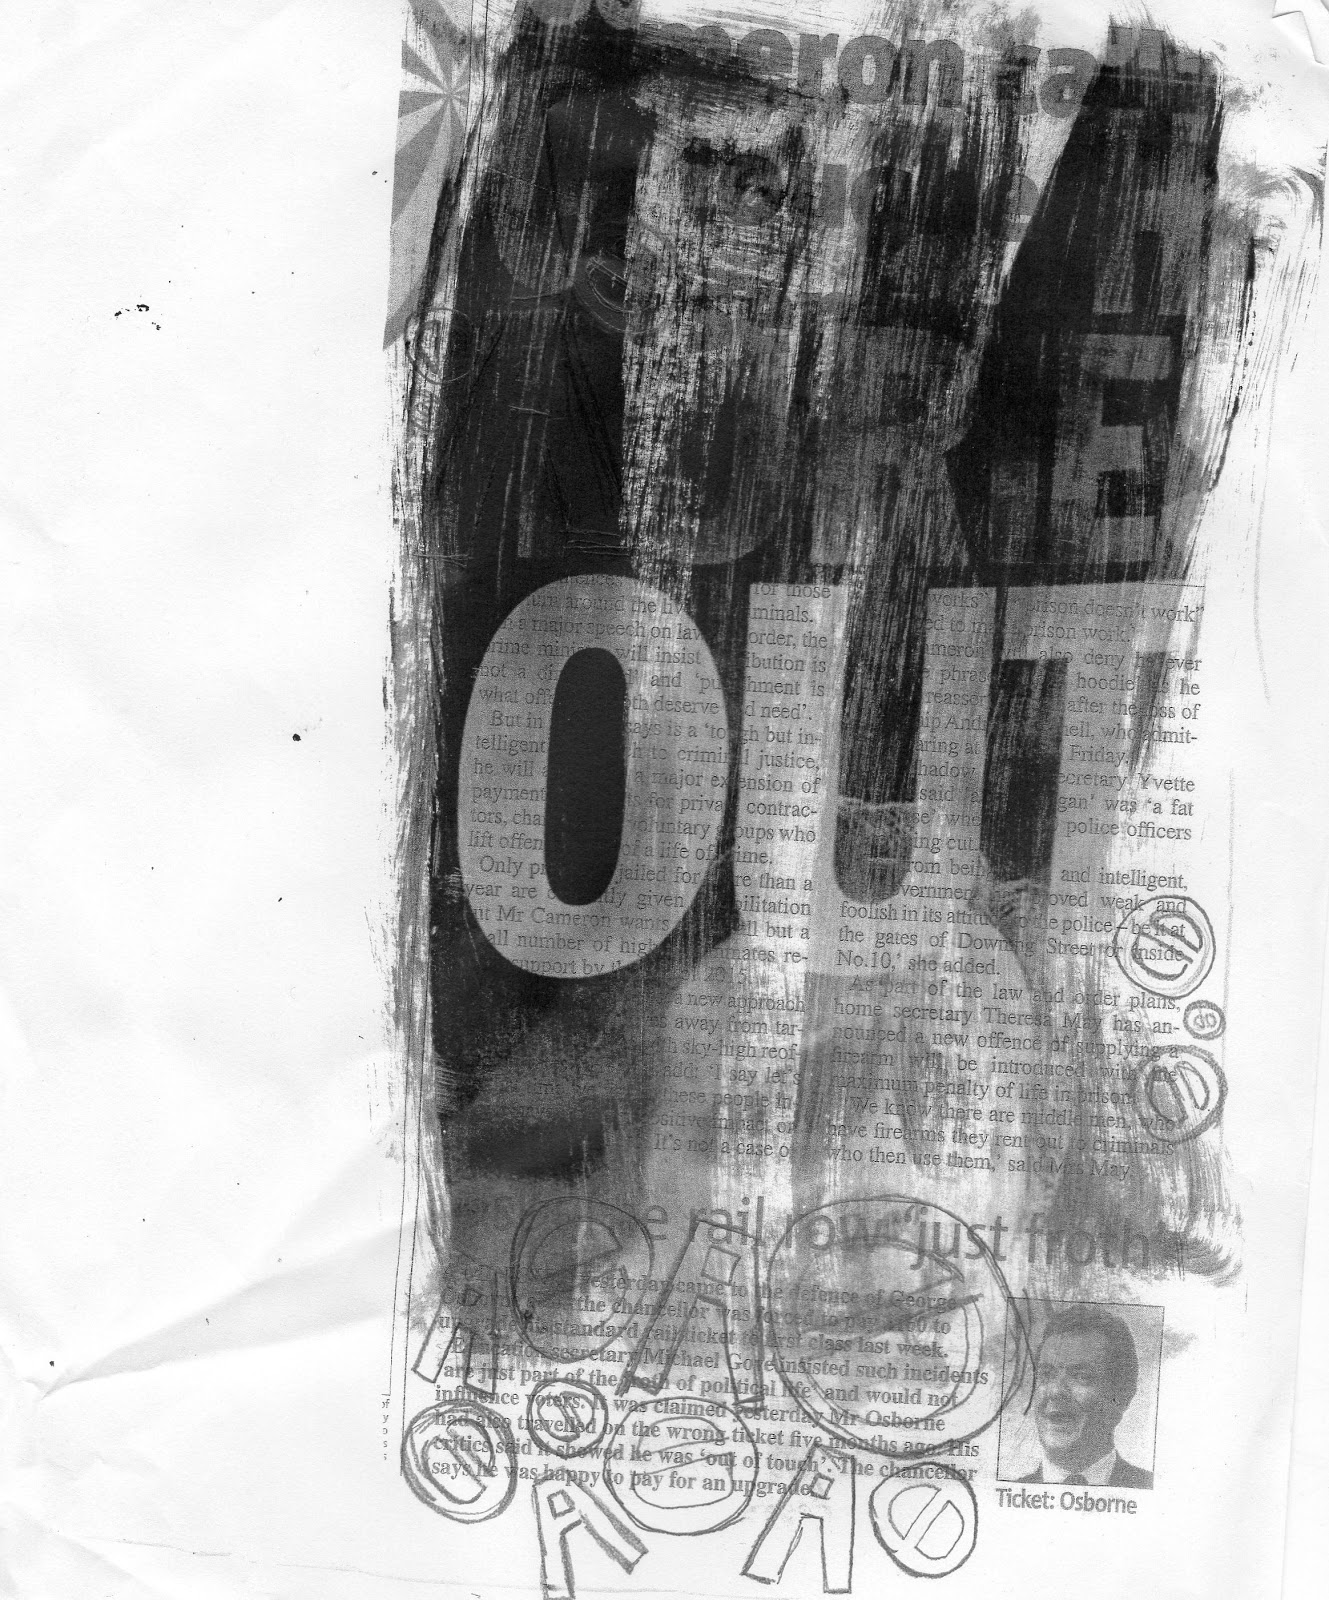
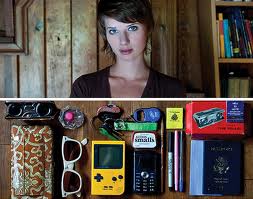
During this project and experimentation, I tried to use new techniques in the darkroom I haven't done before in order to extend my knowledge. For example combinational printing, drawing on tracing paper,multiple exposures and experimenting with developer. In terms of digital experiments, I having been using a app called ''Instagram'' and using a variety of effects e.g. ''Lomo Effect'', '' X-Pro 11'', ''Lo-Fi'', and ''Hefe''. Using them I've enhanced my images to the best they can be. 

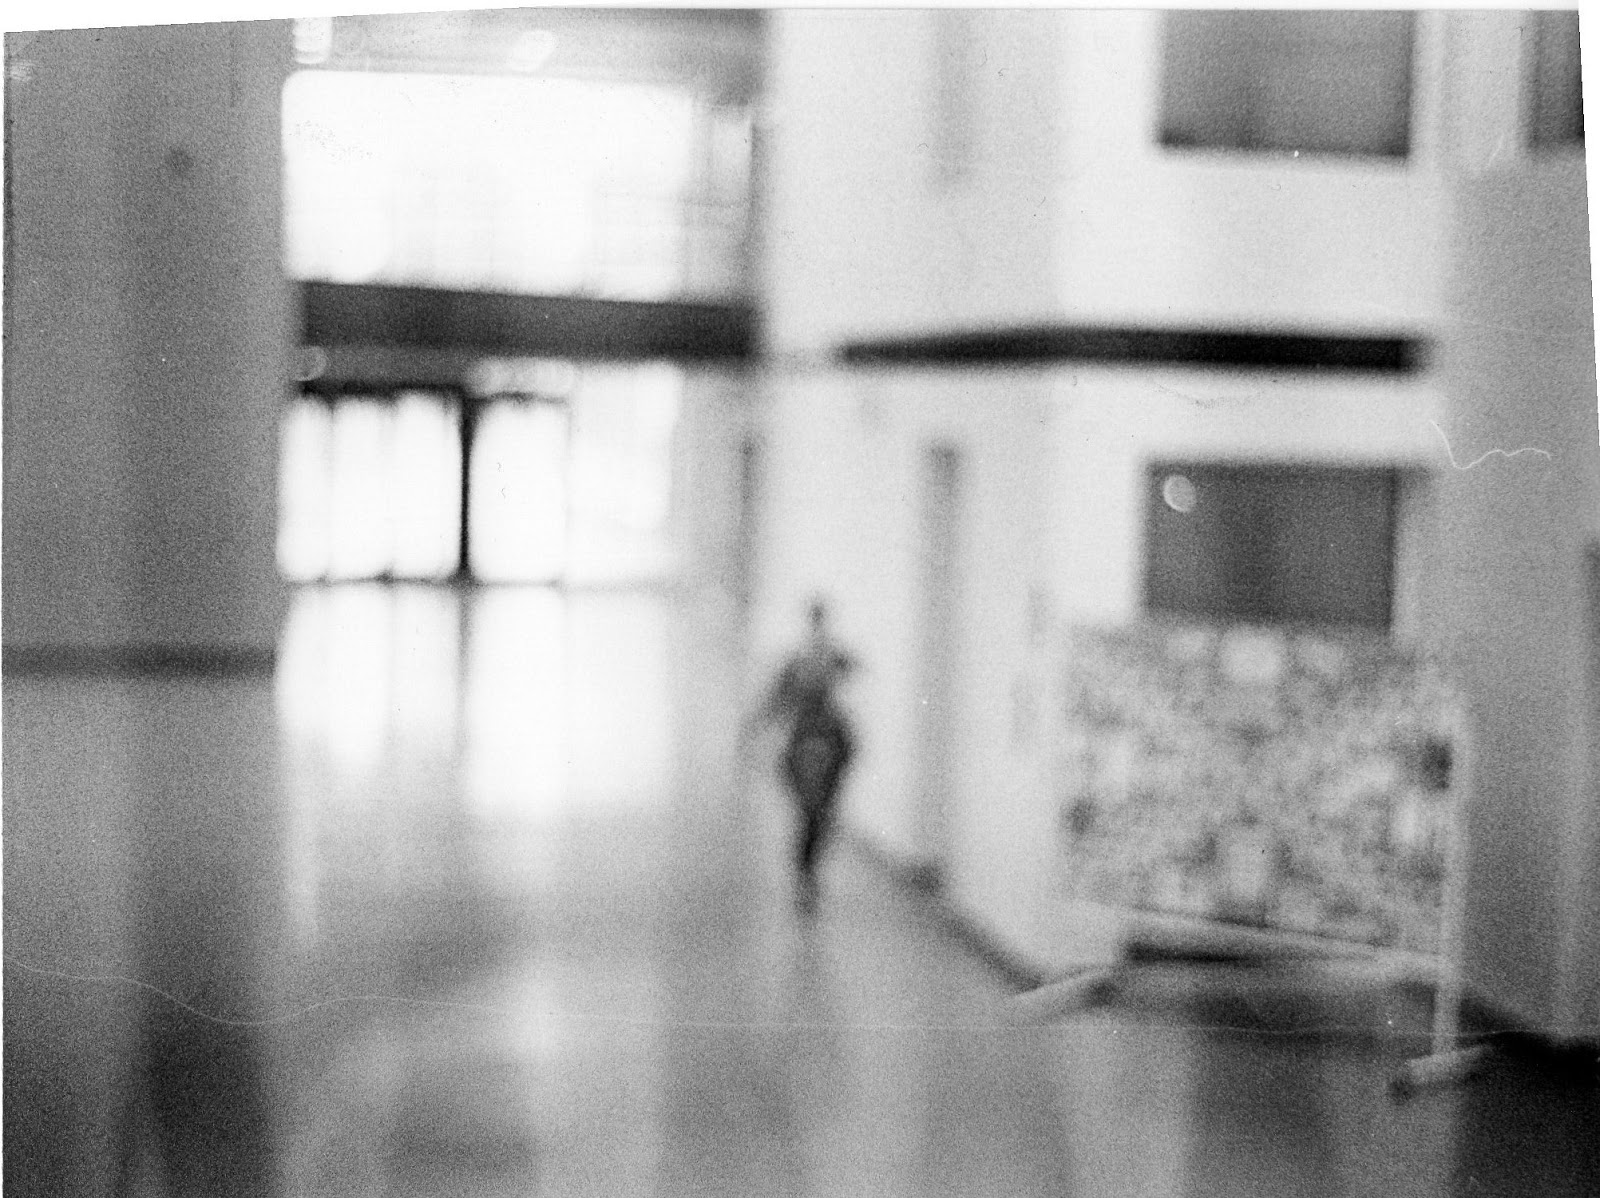
I've tried to take simple ideas and photograph skilfully by concentrating on lighting and focus. For this project, I really wanted to concentrate on the technical ability of taking photographs rather than the image itself and what's within it. 

So far in this project, my research has been looking through pintrest and getting a range of ideas for future photographs trying to find interesting ways to capture the theme ''documentary''. 

I have tried to develop my outcomes by refining them and combining techniques to get a more complex and interesting outcome. Using technique I learnt from the previous project I have tried to incorporate them into this project. 

I have brief annotations on blog and more detail into my sketchbook and this has helped me to quickly find out the timings and settings to them to improve and enhance them. 

Double exposure worked the most and the results came out the best. Combinational printing didn't work so well as when you are putting black paper over the paper, something the square doesn't meet and you can see it when it is developed. 

In the future I will improving my double exposure skills and seeing how they work with my images. I think this will work the best. 

To develop my techniques I can use more than one technique in order to produce a final outcome. 

Monday 17 December 2012

Personal Project - New Ideas

for my next roll of film I want to focus on lighting, I want to do an inspired shoot by Jason Travis, taking photos of objects in interesting lighting but I want to make the images out of focus therefore making them quite interesting to look at and wanting to know what the objects are. Then alternatively take some of the images in focus and later on when can some how merged them together or create an animated gif to see the two images come together.

Another idea I would like to shoot on my roll of film is slow shutter speed images. I want shoot somewhere like a high street on a tripod, get the buildings but the people will have ghostly shadows behind them I think this will look quite interesting and would be a good time todo it as everyone is shopping right now.

Lastly, another idea I would like to shoot is some night time photography. this is something I haven't done before. Luckily I live close to chelsea bridge. I would like to document in the dark chelsea bridge being so light up. At that time I could also play around with interesting angels that are uncommon but could produce interesting effects.


Jason Travis example

Jason Travis example

Personal Project - Digital & Darkroom Experimentations


All images have been taken on my phone all around my local area. I wanted to document the urban mood around me and to do this I used Instagram app with has different effects to enhance the image. I used effects like 'Lomo Effect' and playing around with the brightness and contrast settings. This is another idea that I've around to document all is around me and what i see. E.g most on my everyday walk to the train station.

For the darkroom prints, I used techniques such as double exposure, interesting ways of using developer, drawing on tracing paper and using two negatives. I wanted to try different techniques that I haven't done before. I really like the one I have covered my hand in developer. I think it's relates so the negative used. That is my favourite one I will try to think of different ways to use developer in the future. 

Friday 7 December 2012

Personal Project - Darkroom Prints


Here are my darkroom prints from the film i took. I tried to follow my shooting plan best I could. These were my results. They were all used on a 5,0 filter and aperture 11,0 varied to 6-9 seconds.

Personal Project - Shooting Frame

Here are some quick sketches of what I plan to shoot. My idea is looking at what you can do with your hands. Like, everyday things we do e.g. playing with our hair, writing etc.

Personal Project - 4 x Ideas


Sunday 11 November 2012

A2 Personal Project Mindmap

Here's a few of my ideas for the Personal Project so far including techniques, locations and suggested ideas.

A2 Personal Project

Our next project is called the 'Personal Project'. This is allowing us to come up with our own ideas and and guide ourselves through the project. Independently we come up with our own ideas and build them up to a final outcome. 

Monday 5 November 2012

Enhaced Image Project - Evaluation

For this project we had to list a theme of photography we were interested in and incorporated into our new learned techniques. We then studied a range of artist using different technique we were going to learn to inspire ourselves. I came up with the ideas of my final project through experimentation of technique I had newly learnt (bleaching) and also looking at previous students work that they had done over the years (liquid emulsion)

At first my ideas were around the theme urban vs suburban and I wanted to document this through buildings. As time progressed through the project I was researching into artists involved in Photojournalism. I was really interested in these images as I felt they were strong and powerful and also relevant to today. They are also taken in black and white which is what I use for my photographs. I felt that by taking image with meaning behind them and going and enhancing them with a techniques like highlighting, dodging and burning and bleaching, we could empathize key areas and give them images more dept. This is when I decided this would be what I based my final outcome around. I then went a researched into local protests around me.

I decided I wanted to do bleaching when we did experimentation with it and I really enjoyed it as I felt it was really touch and go and being exciting of taking a risk of putting your image in bleach and not knowing how the final outcome was going to be like. I really enjoyed this feeling and also like the effect the bleach gave my images and decided that I wanted to incorporate this into my final piece onto a mounted sheet.

I also wanted to use liquid emulsion to present my images. I originally got this idea form a previous student. I then went to research artist who used the same technique. I found Arnold Mariashin who also used this material. I enjoyed looking at his images and this confirmed to me that this is the material that i wanted to use.

I then went onto experimenting with the liquid emulsion to make sure I had the right time settings for my final piece. I think that I had chosen the right negatives that I had taken that was a big poster with big bold text that would compliment the liquid emulsion. I think this also worked well that the brush stroke effect and rough border made it look like a unused poster which I felt was relevant to my chosen theme.

Enhanced Image Project - In depth Analysis - Arnold Mariashin

''Hand''

''Melon''

''Still Life''


Arnold Mariashin is a Russian Photographer who has interested in Photography since the age of eight.Since then he graduated with a film degree and known for contemporary photography. From his website it says that he uses a handmade large format camera that develop into an enlarger in his darkroom in his bathroom.

He uses liquid emulsion to process his images. This is a solution that can turn any paper into photographic paper. You placed the liquid on the liquid emulsion on and leave to dry. After this is you then placed under the enlarger for time that has already been sorted out then after it has been exposed to the light you then repeat the traditional photographic developer,stop and fix.

I love these images because you can see the brush strokes from when the liquid emulsion was originally brushed on. If you look carefully at the ''still life'' you can see the emulsion has cracked where at that particular point it was thick and when it has been dried it has cracked. I love this effect it has given because it make it look authentic. Again, I like the liquid emulsion as it gives the images a great texture and an illusion of layers. It's a different way of presenting images.

My favourite image out of these is the ''Hand''. I love the way the liquid emulsion and has picked up the different tones. It gives the image a soft touch and relevant to what the image is of makes it quite intimate.

Looking at this artist uses this material and the result that have happened has really inspired me for my own work. I really want to use this material and I think it will work really with my idea of political protest. With the strong colours and bold text I think this will work extremely well.With my bleached outcome I felt worked well as I printed them at home on my own printer and once put into the bleach they turned blue which reminded my of cyanotypes and was happy with the final outcome.

I could of improved my project by having more variety of negatives. Towards the end, I felt that I only had three negative I felt worked best with the liquid emulsion therefore I didn't have a lot to work with. If I had more time I would have taken another 24 roll of film to ensure I had a variety to choose from and not feel obligated to the same negatives.

During this project I have enjoyed broadening my knowledge on new technique and I am looking forward to uses these techniques in the future. I enjoyed all the techniques learned including; making handmade negative in the darkroom, improving my Photoshop skills creating effects on digital photographs. In the future I can now go on further to improve my images and not just developing them. I can now build onto them with these new technique and be able to enhanced the quality of the final outcome.

Saturday 3 November 2012

Enhanced Image Project Final Outcome Photographs


These are the images I am using with the liquid emulsion. As you can see from the prints they are stripey. This is because when I was processing the film the developer was exhausted. This made my negatives come out like this. This is when I had to figure out how I was going to enhanced this images and disguise the strips. This is when I decided I was going to use liquid emulsion.

Enhanced Image Project- Development Of Final Outcome

practicing for paper cutting

practicing on photo copies on liquid emulsion

liquid emulsion - too dark to use

liquid emulsion - photograph didn't show as well as I wanted

more practicing on photocopies

liquid emulsion
These are some of the liquid emulsions that didn't come out quite as well which is why I decided to only use one in the end as the image came through the best. The reason why I think they didn't come out the best is because the liquid emulsion wasn't left long along to dry so didn't work to it's full potential. In the future if I was using liquid emulsion again I would leave it to dry overnight before exposing it to the liquid emulsion.
The symbols are inspired by the artist donna ruff which is what i decided to do with the liquid emulsion print that worked and draw out these onto the print and cut them out.

Monday 22 October 2012

Enhanced Image Project - More Experimentation

inspired by the photography Dan Mountford. To get this outcome I cut out a CCTV camera with black sugar paper related to my theme documentary. I then placed the black sugar paper over my photographic paper and shine my negative through.

Same process for this one. I particularly like this technique as you could block objects out of your image that you didn't want your audience to see.

This technique is called creative masking. This is where I put two negative in front of one another in the negative carrier and shone the light through. As you can see I have someone working in the library and the second is down a long corridor.

This was an experiment with the camera of taking an image intentionally out of focus. I really like this image.

Trying again with the highlighting technique.